When you leave your home country, there are always some things you miss – and in my case (and probably also in the case of most other Danes), one of those things is rugbrød – or rye bread in English. Typically made with sourdough and whole-grain rye flour, it’s quite different from the whiter wheat-based breads that are more prevalent in the rest of the world. And, when you’ve been eating rugbrød more or less every day for your whole life, it’s *very* hard to get by without!
Even though I actually managed to find real sourdough rugbrød in shops here in Switzerland (you’ll have to look carefully though!), it just wasn’t the same – and hearing that it apparently wasn’t too difficult to make it yourself, I set out on a quest to find a recipe that could be made with ingredients easily found in Switzerland, and that was also easy and quick enough so that it could fit into my everyday schedule. And – spoiler alert – I succeeded! And as many of my friends (both Danish and other nationalities) really liked it and wanted the recipe, I thought I’d just do a writeup of it here – even though it’s a bit of a departure from my usual content (I got to take a couple of pictures though ;).
First thing to do was to look a bit around on the net – luckily there are a few recipes around (google returns just short of 200.000 results when searching for ‘rugbrød opskrift’ (the Danish terms for rye bread recipe)), so I basically had a read through a bunch of them, and combined my way to something that would hopefully work for me. I knew that I wanted something simple, and without using wheat or yeast (mainly because I knew it was possible to do without these, and the fewer ingredients, the less you need to keep in your kitchen cupboards). Main inspiration ended up coming from ‘Frøken Uldbjergs Køkken’, which had a very simple looking base recipe, containing just sourdough, flour, water and salt.
The sourdough
So the first thing to do was to get a sourdough going. Sourdough is a dough containing a ‘Lactobacillus culture in symbiotic combination with yeasts’ (thank you Wikipedia), and can typically be made with spontaneous fermentation – which basically just means to leave it out in the open for a few days and wait until the right bacteria move in. I used the following procedure:
- Add 1 dl of water and 1 dl of whole-grain rye flour (preferably organic – apparently makes it easier to get started) in a container and mix
- Leave the container out on the kitchen table for 24 hours, without closing the container (you can put a kitchen towel or similar over it)
- Then add another 1 dl of water and 1 dl of whole-grain rye flour and mix
- Wait another 24 hours (maybe more)
With a bit of luck, your sourdough should now have begun to bubble and foam – that means its ready for use!
When you’re not using it, just put the lid on, and place it in the fridge. It can usually get by on its own for a week or two that way (mine survived me being away for Christmas and new years without any trouble), but remember that it’s basically a living organism, so it needs to be fed once in a while. You can do that by removing a bit of the sourdough, then adding 1 dl of water and 1 dl whole-grain rye flour, and mix it up – that should keep it happy for a good while. The main reason for removing some of the dough first is just to avoid ending up with a fridge completely full of sourdough if you go for a long time without using any of it… – as far as I’ve gathered at least…
When you’re using your sourdough for making bread, just remember to feed the remaining sourdough, so that you have enough for your next bread also (you may need to feed it twice to get back to the original amount).
If your sourdough doesn’t ‘start’, you can help it a bit by adding a spoonful of yogurt or similar sour-milk product to it. My first sourdough started easily by itself within 48 hours, but the next one (yes, I managed to kill off the first one…) took a bit longer, and some yogurt also. Also note that the sourdough releases gas, and should thus not be kept in for instance a completely sealed container, where it can’t expand a bit (I’ve heard the lid popping of my plastic container a few times after feeding the sourdough).
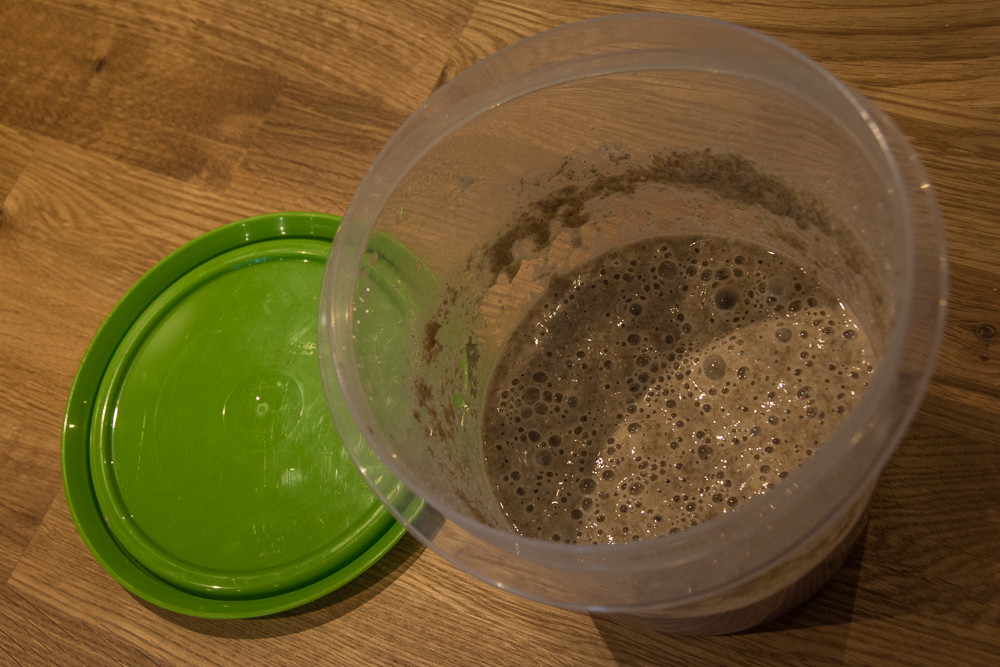
Happy bubbling sourdough!
On to the actual bread
With the sourdough ready, the bread itself is quite easy. Take a big bowl (or similar, I use a big cooking pot) and mix the following:
- 5,5 dl of lukewarm water
- 2 dl of sourdough
- 9 dl of whole-grain rye flour
The dough should be quite wet – a bit like a rather stiff porridge (don’t try to eat it just yet though). Now leave the bowl for 24 hours (yes, I said it was easy, not fast ;) on the kitchen table to make the sourdough permeate the fresh ingredients.
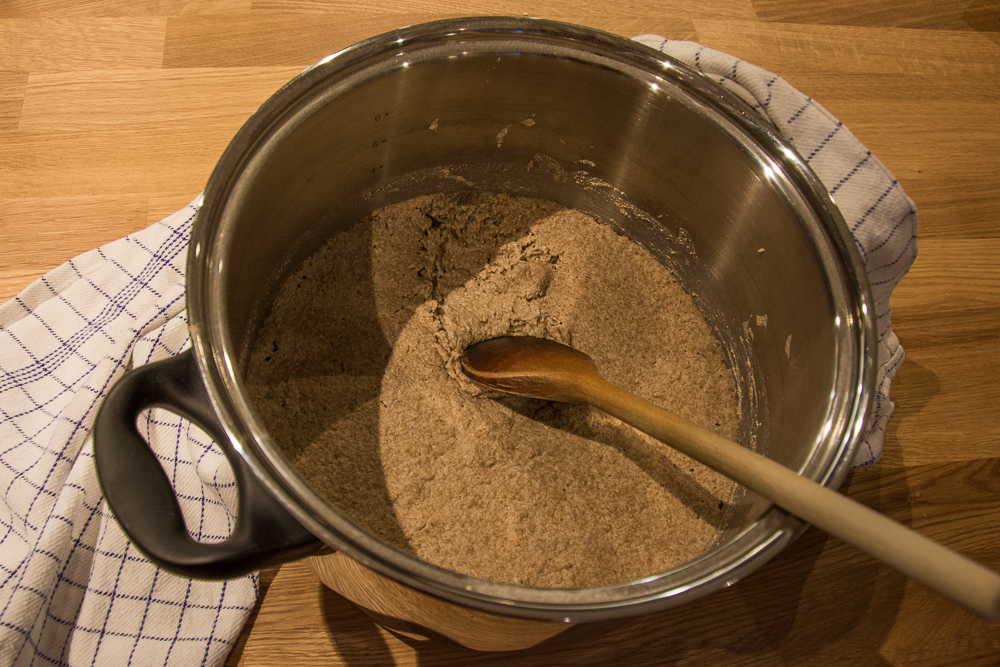
After 24 hours, it’s basically a bigger, slightly-less-wet sourdough
After the 24 hours, the dough is almost ready. Now it’s time to add some seeds and grains, depending on what you want and like. I use the following:
- 2 teaspoons of salt
- 0,5 dl of lukewarm water
- 0,5 dl of flax seeds
- 1 dl of sunflower seeds
- 1 dl of pumpkin seeds
The salt and water is probably a good idea to add, but the seeds can of course be exchanged with others – put in what you like, and make your own style of bread! Mix everything up nicely, then pour it into a good, sourdough-capable breadform (apparently not all cake and breadforms like sourdough!), preferably lubricated with a bit of oil first. I found my breadform in one of the bigger Coop-stores here in Switzerland (the smaller ones don’t seem to carry that particular type), and it works really well.
I could make a nice joke about how the bread is obviously healthy since it’s in a form here, but only Danish-speaking people would get that, so I won’t…
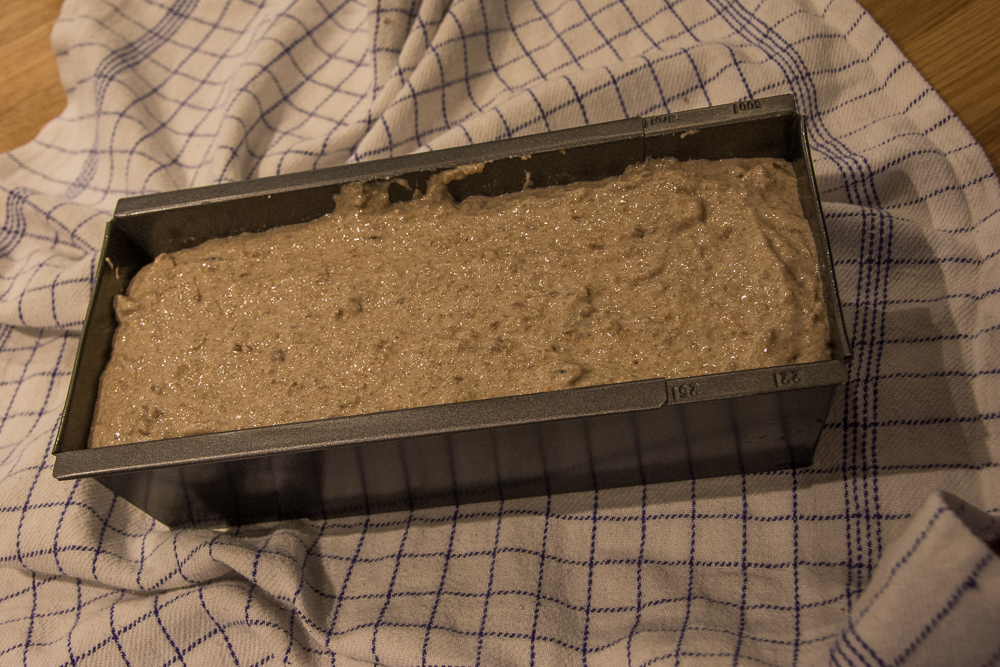
Now leave the almost-bread to rise for 6-8 hours (yes, more waiting…) in its form on the kitchen table – and then you’ll hopefully be greeted by a sight similar to this:
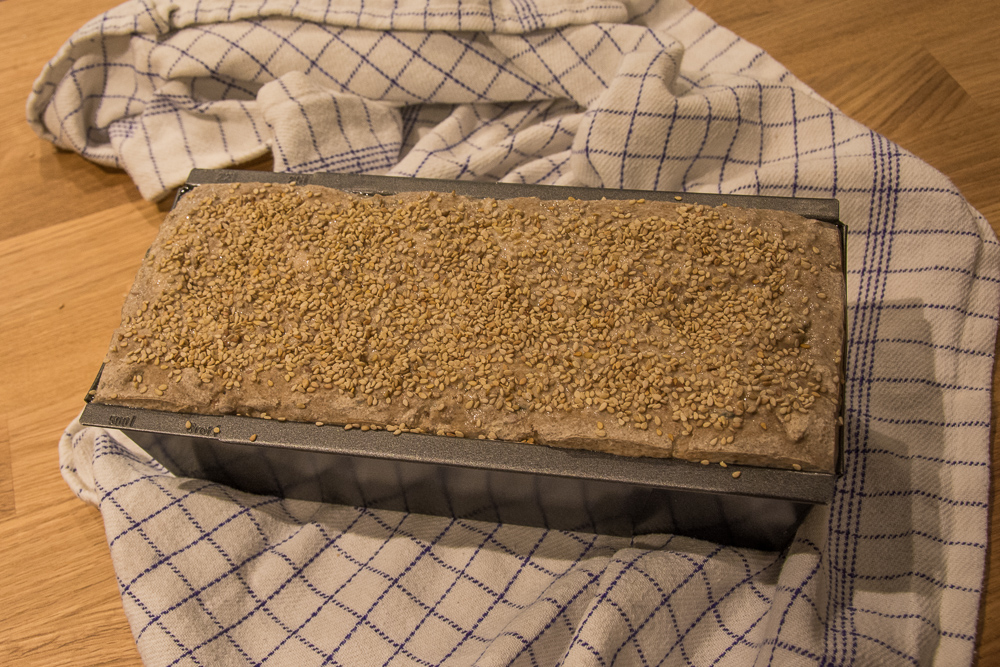
It has risen nicely – you’ll have to add the sesame seeds yourself though…
If you want something on your bread (as can be seen from the picture, I usually use sesame seeds), drip some water on it, then add the seeds. Without the water, the seeds will just fall off (been there, done that). And now – it’s actually ready to be put in the oven! I preheat mine to 170 degrees Celcius (not those crazy Fahrenheits), then put in the bread, and bake it for about 2 hours. This depends a lot on the oven and on the dimensions of your form though, so you’ll probably have to experiment a bit with this.
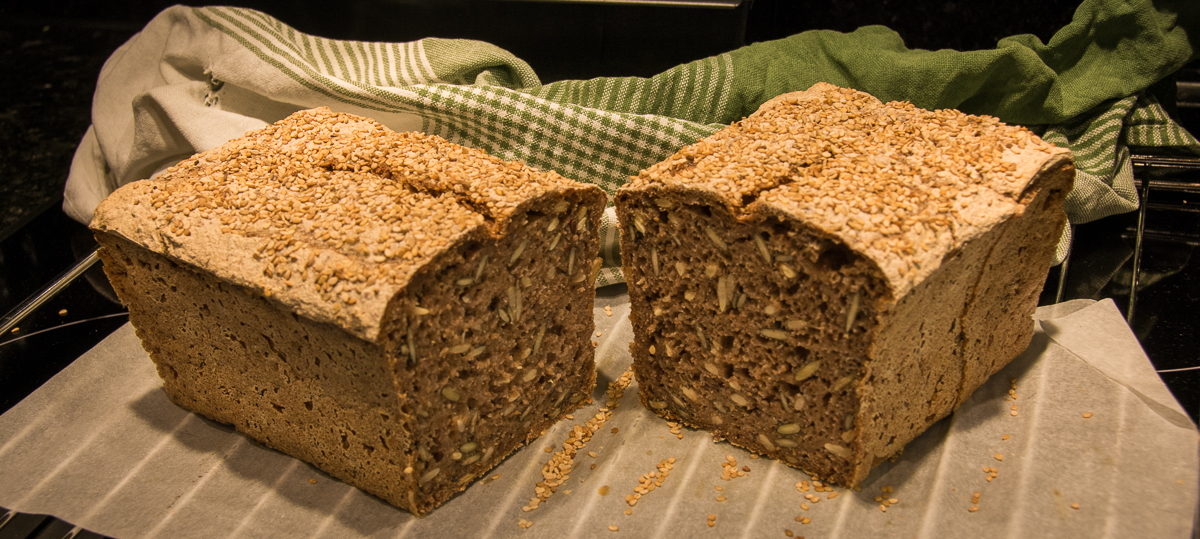
When done, take it out of the oven, remove the bread from the form (the better the form, the easier this is), then leave the bread on the oven grate with a damp kitchen towel over it until it has cooled down (another 4-6 hours or so), before you start cutting it. This apparently helps seal the crust, and makes the bread keep fresh longer (I’m not sure though, as I’ve never dared to run the risk of ruining a good loaf of bread by cutting it up before being cooled down :).
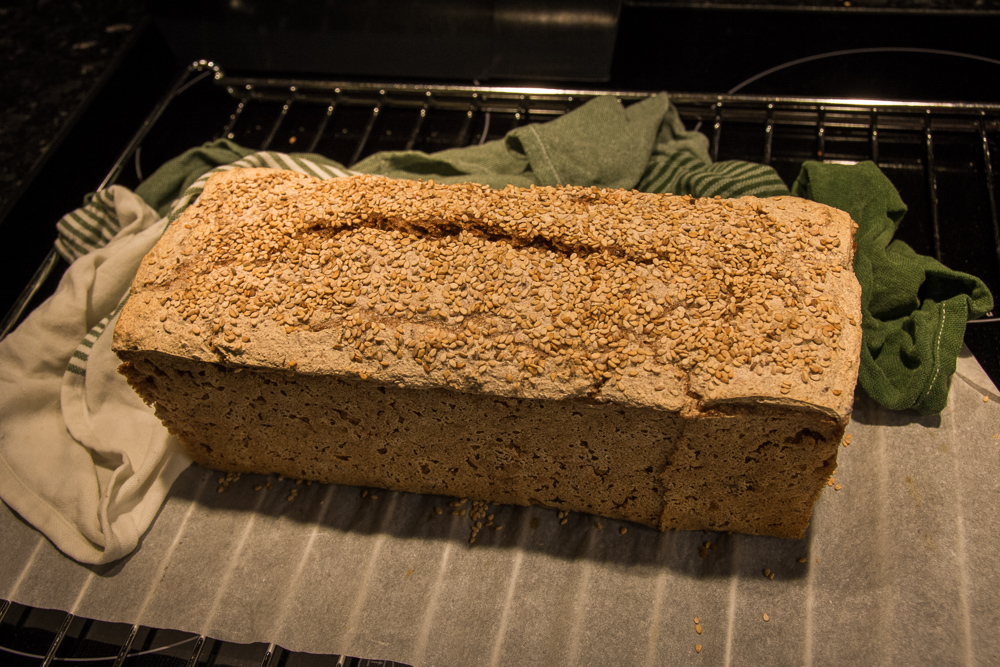
Done!
So, even though it takes some time to get there, once you’re going, it’s actually not really much work. I usually mix up the initial dough in the morning, add the seeds and pour the dough into the form on the next morning, leave it to rise while at work, bake it when I get back home in the evening, then leave it to cool down during the night. It might be 48 hours from start to finish, but there’s less than 30 minutes of work in total once you’ve got the process nailed down. In my case this loaf of bread lasts for lunch for about a week, and I’ve never yet had it go moldy on me (it can get a bit dry at the end of the week though) – and for me, it’s just a little bit of home away from home :)
Happy baking!